
KJH
Terraform 시작하기 (GCP) 본문
1. Terraform이란
Infrastructure as Code(IaC)에서 주로 사용하는 툴
콘솔에서 VM관리를 하는게 쉽지 않고, 대규모일 경우 더욱더 어렵기 떄문에 IaC로 이를 해결함
대형 Public Cloud를 지원하기 때문에 용도에 맞게 사용하면 됨
2. GCP 설정
2.1 콘솔 접속
https://console.cloud.google.com/
Google Cloud Platform
하나의 계정으로 모든 Google 서비스를 Google Cloud Platform을 사용하려면 로그인하세요.
accounts.google.com
2.2 프로젝트 생성
- 다른 프로젝트와 독립적으로 관리하고 싶어서 프로젝트를 새로 만들었습니다.

2.2.1 프로젝트 리전 설정

2.3 Terraform에서 접근할 계정 생성
2.3.1 Service Account 항목으로 이동

2.3.2 계정에 권한 부여
- 이름과 권한을 부여하고 생성 합니다.

2.3.3 키를 생성
- JSON 형태로 저장 합니다. (terraform실행할때 사용합니다)
- 아래에서는 credentials.json로 이름변경 후 사용

3. terraform 설정
3.1 terraform 설치
- WSL ubuntu18.04에 설치함
| wget https://releases.hashicorp.com/terraform/0.12.20/terraform_0.12.20_linux_amd64.zip unzip terraform_0.12.20_linux_amd64.zip sudo cp terraform /usr/local/bin/ terraform -v |
3.2 terraform 폴더 구조

| credentials.json Service Account 계정 Key instance.tf 생성할 인스턴스 정보가 담긴 파일 terraform.tfstate tf파일로 생성된 인스턴스의 정보가 Json형태로 저장되어있음 terraform.tfstate.backup 인스턴스를 수정하면 복구할 수 있도록 백업 떠줌 |
3.2.1 instance.tf 파일 생성
| // Configure the Google Cloud provider provider "google" { credentials = "${file("credentials.json")}" project = "terraform-330614" region = "asia-northeast3" } // Create a GCE instance resource "google_compute_instance" "default" { name = "terraform" machine_type = "f1-micro" zone = "asia-northeast3-a" boot_disk { initialize_params { image = "debian-cloud/debian-9" } } network_interface { network = "default" access_config { } } } |
3.2.2 terraform 명령어
| terraform init 해당 디렉토리에서 terraform을 사용하기 위해 첫번째로 실행해야하는 명령어 terraform plan terraform실행 전 변경사항을 확인하는 명령어 terraform apply tf파일을 기반으로 실행 하는 명령어 |
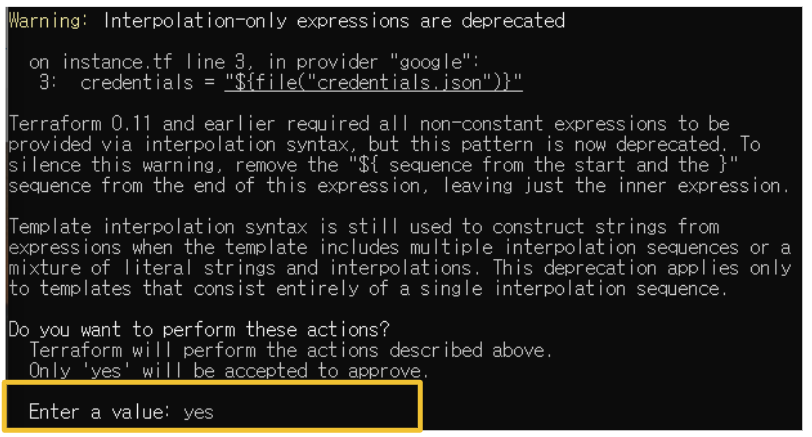
3.2.3 terraform apply 이후 yes입력
'DevOps' 카테고리의 다른 글
| github action (CI) (0) | 2021.11.06 |
|---|---|
| Terraform Variable (0) | 2021.11.03 |
| k3s Install (0) | 2021.07.24 |
| LVM 구성 (0) | 2021.07.08 |
| CentOS AirGap Repository 구성 (0) | 2021.07.08 |
'DevOps' Related Articles
more


